DEVILS FOOD CAKE
A rich, moist layer cake that packs a hell of a chocolate punch.It has the gloss and texture of the lightest buttercream but the full on chocolate flavour you get from a ganache.

Your social calendars are probably going to be filled with barbecues and dinner parties, in this glorious weather so I want to give you a little secret weapon.
As you may know, I LOVE to cook and bake. It’s the most relaxing and therapeutic hobby (besides shopping)💁🏻 and one of my favorite things to make is anything chocolate. Lucky for you, I’m sharing this divine recipe for chocolate cake and decadent frosting to go with.
As the name suggests, this devilish cake is as black as sin, loaded with chocolate, cocoa, and brown sugar. The acidity of these deliciously dark ingredients provokes an intensely fizzy reaction from the baking soda, for a cake that bakes up fluffy and light. Some say that the name Devil’s food cake might be because of the reddish-brown colour, some say it’s because the cake is so sinful! Whatever be the reason, this cake is definitely a notch higher than your regular chocolate cake.
Why It Works:
Acidic ingredients like brown sugar activate the baking soda, giving the cake its rise.
Dutch cocoa powder is dark and higher in fat than natural styles, for a rich and flavorful cake.
Store the cake either at room temperature or in the fridge(if the weather is too hot). Cake stores well for 3-4 days at room temperature and about 7 days if refrigerated.
Ingredients for 3 layer x 8" cake
FROSTING:
150ml double cream
262g butter
335g ..55% chocolate
decent pinch salt (slightly smaller pinch!)
SPONGES
75g cocoa powder
150g light brown sugar
1tsp vanilla
375ml boiling water
200g butter
225g caster sugar
3 eggs
335g plain flour
1 tsp baking powder
1 tsp baking soda
INSTRUCTIONS:
Preheat oven to 170°C. Line the bottoms of 3 8” inch round cake pans with buttered parchment paper. Lets start with frosting and this is a kind of ganache frosting, loosely based on actual ganache which is chocolate and cream, but unlike ganache, this doesn’t actually set that firm. In fact it stays really silky and glossy through the whole thing, which is really lovely, it makes it more rich and decadent. And also I’m making it now because it can keep quite well while we’re making other stuff unlike actual gnash which can set quite firm. So I’m going to do it in a ban Marie, which is just a heat proof bowl over simmering water. If you have a microwave, you can do it in a microwave too, in short bursts, stirring in between. So I am using some lovely dark chocolate. I am using 335g of 55% cocoa solid dark chocolate and I also have 262g of unsalted butter, and I’m also adding 150ml of double cream (heavy cream). I’m also adding a pinch of salt and that’s just gonna help to bring the flavor out and balance the sugar. And now I’m going to pop this on my pan! Ok so my pan is nicely simmering and the water is only 2 inches in the bowl because I don’t want it to touch the bottom of the bowl. If it touches the bottom of the bowl it can heat everything up too much. Too hot chocolate is gross it can taste really bitty and bitter. Also don’t get any water in your bowl because that can seize up the chocolate. So put it on a nice medium low heat, just simmering away, melting together and give it a stir every now and again just to make sure it’s melting properly. Just keep stirring now and then til it’s all completely combined. Let it cool down.
Now it’s time for the cake recipe . It results in a really lovely light but moist cake. The first thing to do is get wet ingredients together in a bowl. Put the light brown sugar and cocoa powder in a bowl and make sure you’re using a nice quality cocoa powder for extra oomph. Also good quality vanilla extract. And then to finish it off add the boiling water and whisk it all together until it’s completely combined. Make sure you’ve got rid of all the little lumps of cocoa powder and that your sugar has dissolved completely. Put it to the side to let it cool down.

The next step is to get on with beating sugar and butter together for about 5 minutes until it’s pale and fluffy. Now it’s time to add the eggs. Crack them in and beat really well after each one for about a minute each. It might look split and scrambled, don’t worry! That’s absolutely fine. Once you add the dry ingredients it’ll come together and look like a normal cake batter. Speaking of dry ingredients, sieve them together in a bowl. So that’s flour, bicarbonate of soda and baking powder. Pop that into the batter, and on the lowest setting on your mixer, combine it all together. Add your wet ingredients in slowly while the mixing is happening on the low setting otherwise everything will spray everywhere. Once all the liquid is in, you might see that it’s not quite picking up again. Always make sure you scrape the sides. You don’t want to get any nuggets of buttery sugar in your bake otherwise they will bake holes into your cakes. Give it a good scrape now and then. It should look like a liquidy chocolate pudding. Grease 3, 8-inch tins with spray butter or oil if you want. Distribute liquid batter evenly among the 3 pans. Now it’s time to bake your cakes at 175 degrees Celsius. You want to do this for 25-27 minutes, checking with a skewer to make sure it’s cooked all the way through. I would recommend that you give your ganache a stir, just to make sure it’s cooling down evenly and it’s not splitting. Really important to check all your sponges for readiness with your skewer because you don’t want to assume that just because one is done that all of them are done. Leave them to cool for 15 minutes and then turn them out of the tin. It’s better to do this when it’s slightly warm otherwise it could end up sticking to the pan. Now let them cool down completely before you start icing them.
Time to decorate the cakes! The ganache should be have a floppy spreadable consistency and should look glossy, and if its still runny then pop it in the fridge for 10 minutes. Next you will be leveling all the layers of the sponge. If you have a cake leveler, it is a very useful tool to get a nice straight top. If you don’t have one, use a bread knife, which is really simple. Try to trim the dome or risen part of the sponge as best you can. Do this for all 3 cakes. Place the first layer on the plate you wish to serve and place it on a turntable (if you have one) which will help to spread the gnash. Spread the gnash right to the edge to get a nice flat layer. Then do the same with the next layer. And then with the top layer, what you want to do is turn it upside down because it should have a neat, tidy and flat bottom. Now to finish it off with the rest of the gnash. Pop the rest of your gnash onto the top of your cake. Using a palette knife, spread it out, and it should flop over the sides which is good. This ganache is actually a dream to ice with because it’s so silky and soft and it’s really forgiving as well. It doesn’t dry out and crisp up while your doing it. You can keep this as rustic or as smooth as you like, but what I’m going to do is add a little bit of texture. I will take a small palette knife and as I spin the turntable, lightly press the palette knife into the side to make an impression and draw it up a little bit at a time and it should leave a really nice pattern.
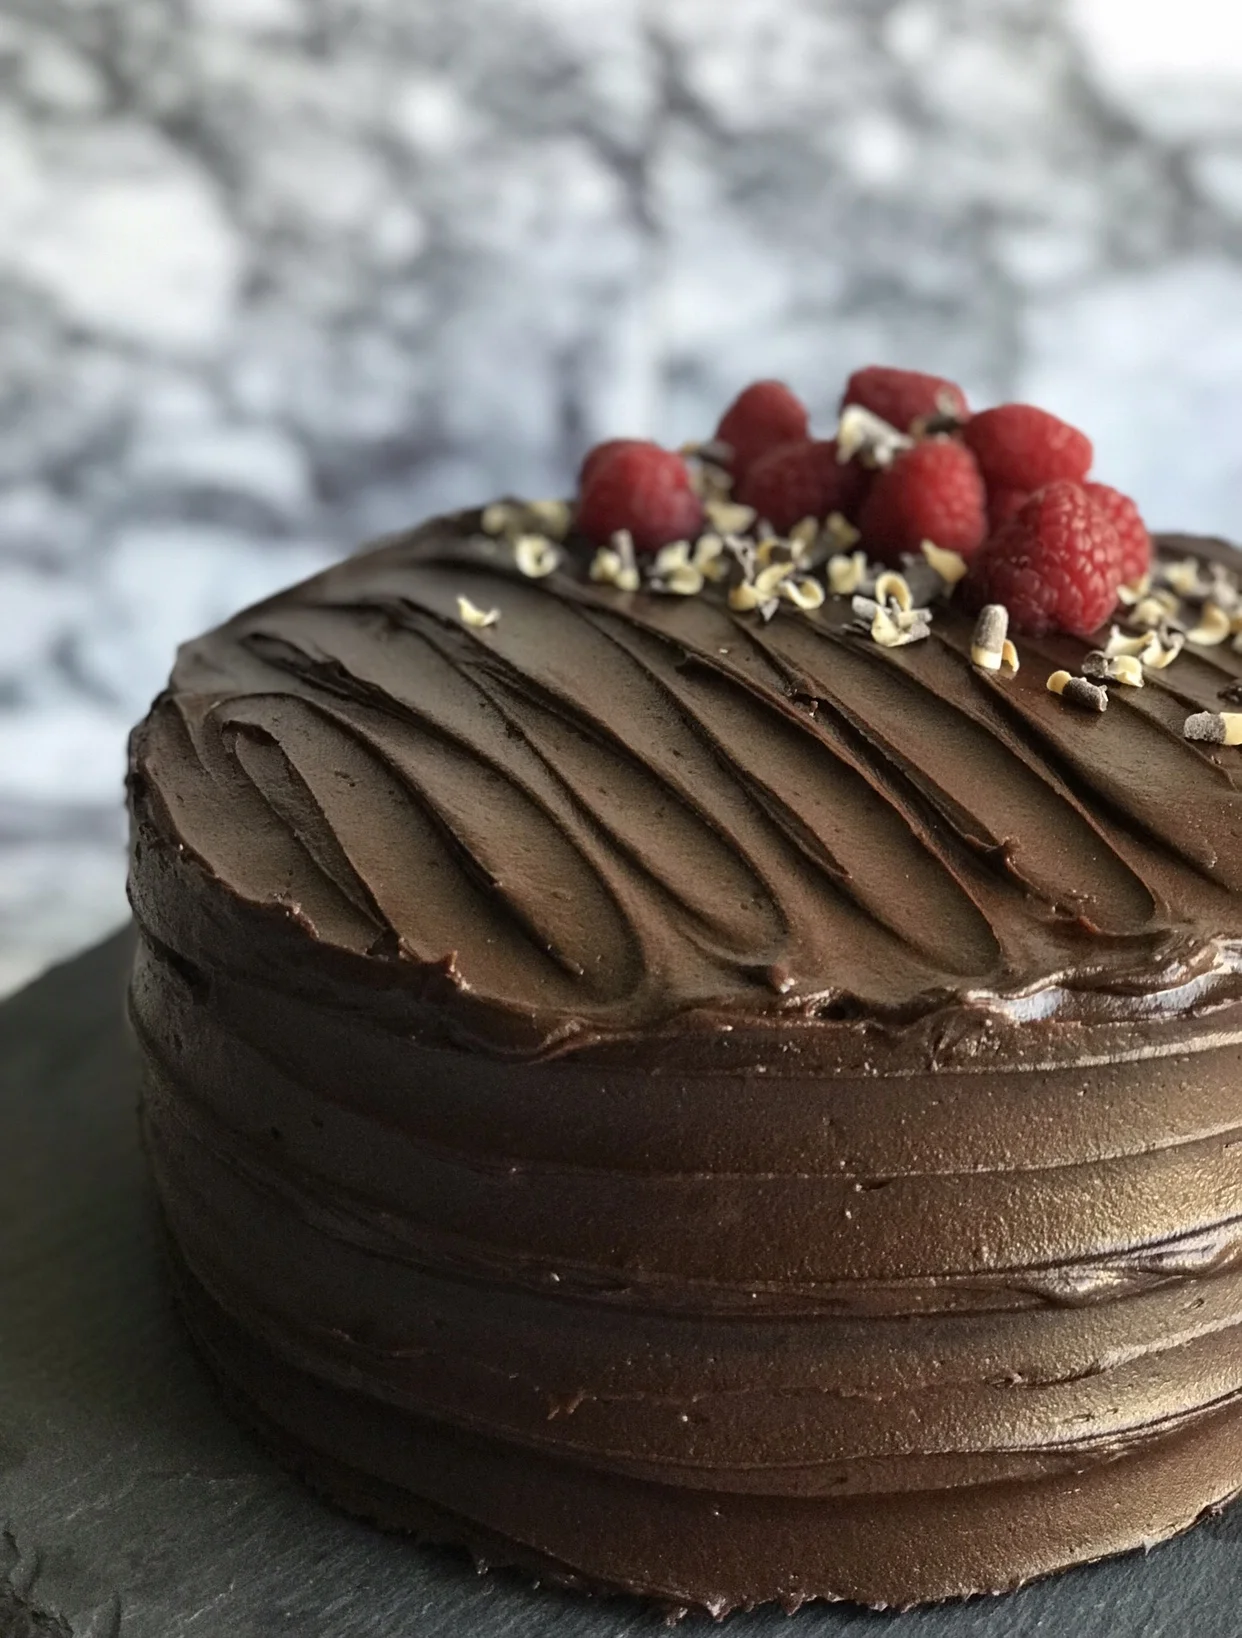
And now to end it, I’m going to draw my palette knife across and back and forth on top to create another new pattern.
You can leave it to this or go an extra mile and decorate with some fresh berries like I have done.

